My aim with the Rainbow Challenge this
year has been threefold – Play all the masters (going well), Paint lots of
crews (falling behind, but not a disaster yet) and keep up to date with this
blog. That last part has been….um, a bit of a challenge, made all the worse by
my insistence that I write 2000+ words every time I post something up!
At this stage I’ve
played no less than 6 Masters for which I haven’t yet written anything for my
Blog! This simply won’t do, so to recitfy this I thought I’d make this a bit of
a Catchup week. So for the next 6 days I’m going to post up one article each
day for each Master I still need to write about – Lucius, Pandora, Collodi,
Lynch, Rasputina and Kaeris! In order to make this feasible I’m restricting
myself to no more than one hour of writing per article. Well, hopefully not
much more than an hour at least. :P So here goes…

The Master
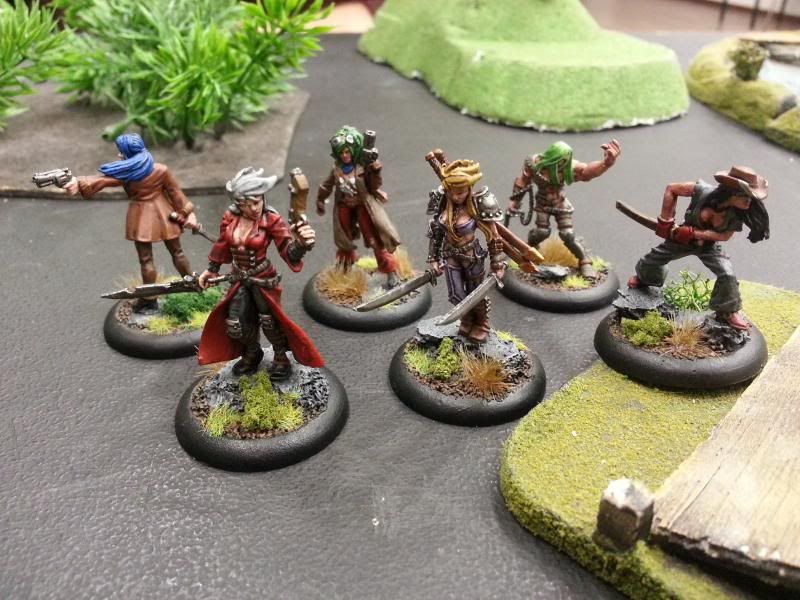
Anyway, today I was playing against John Metzakis, who’s been
messing about with Lilith lately.

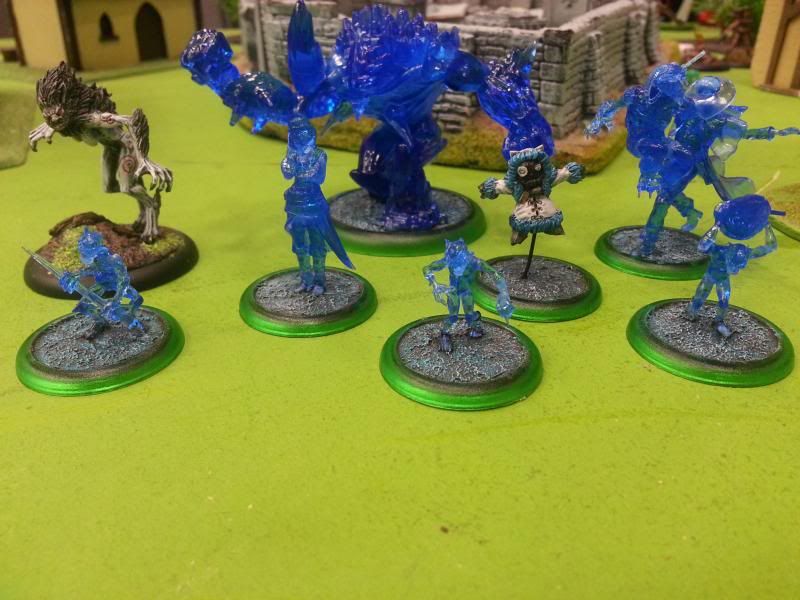
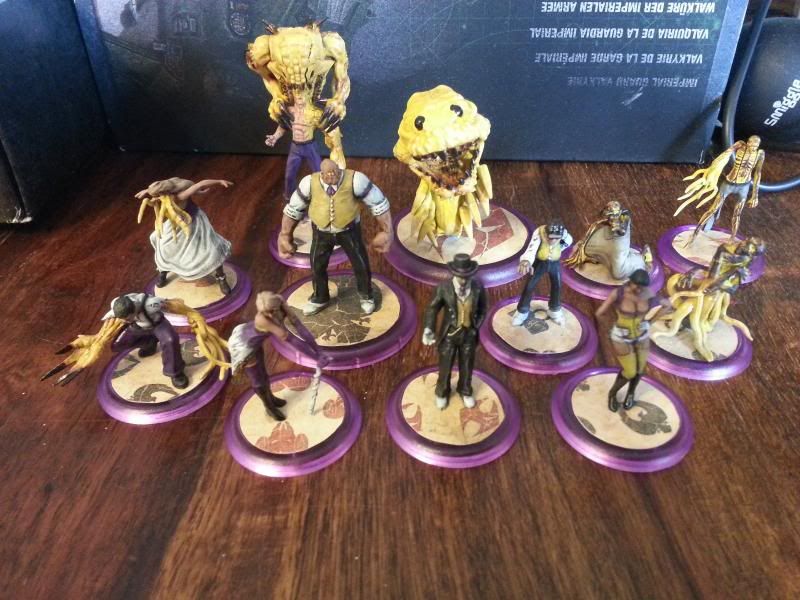
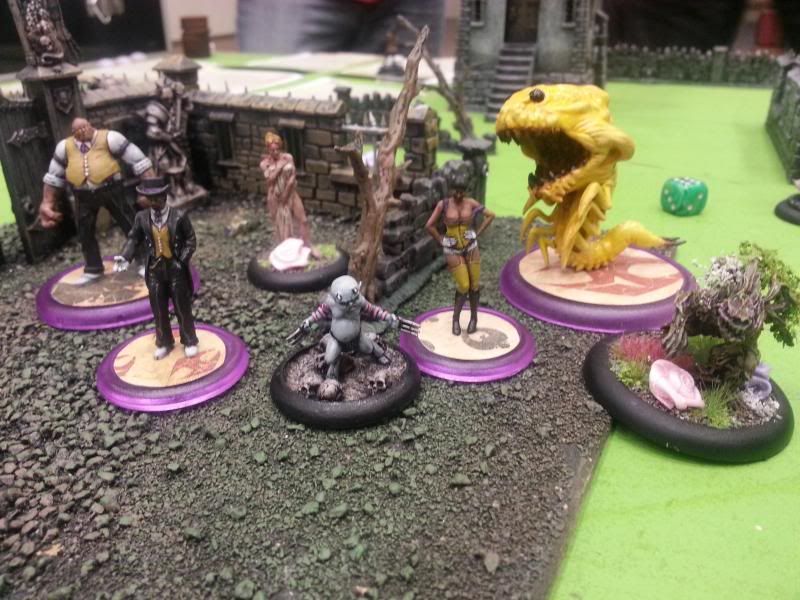
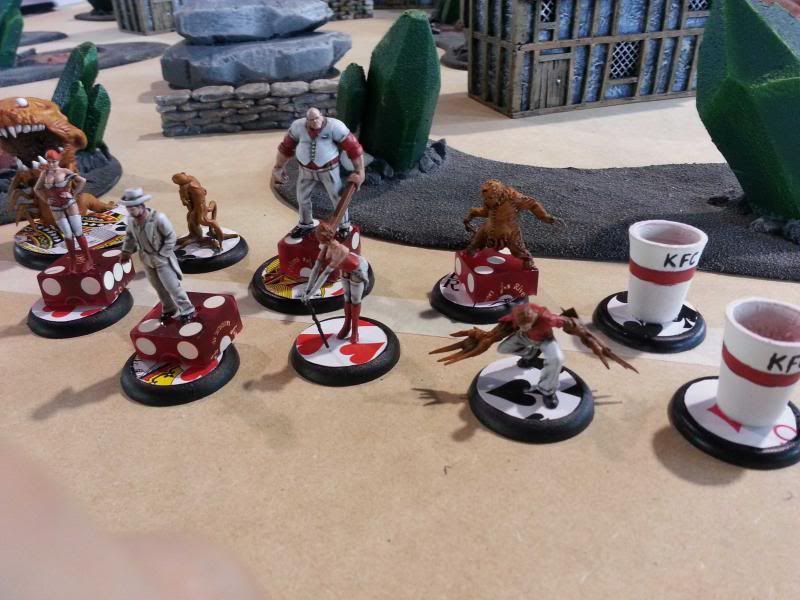
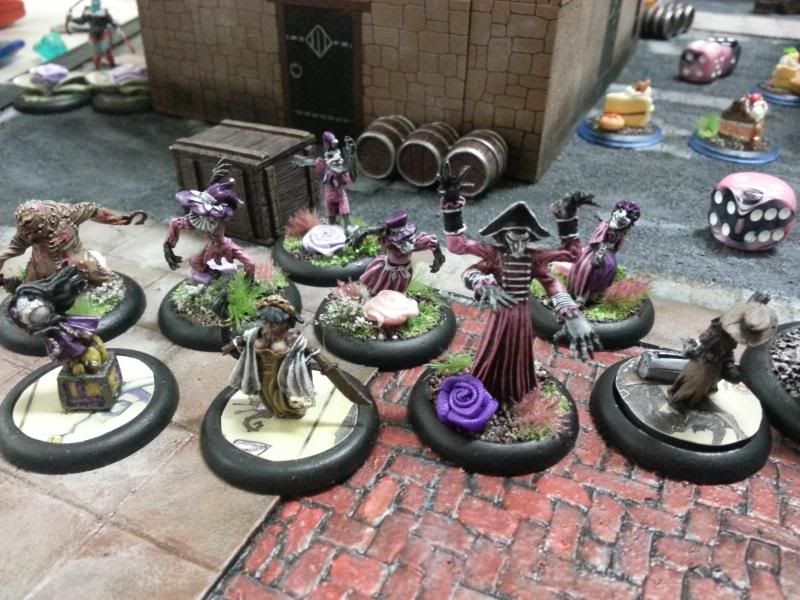
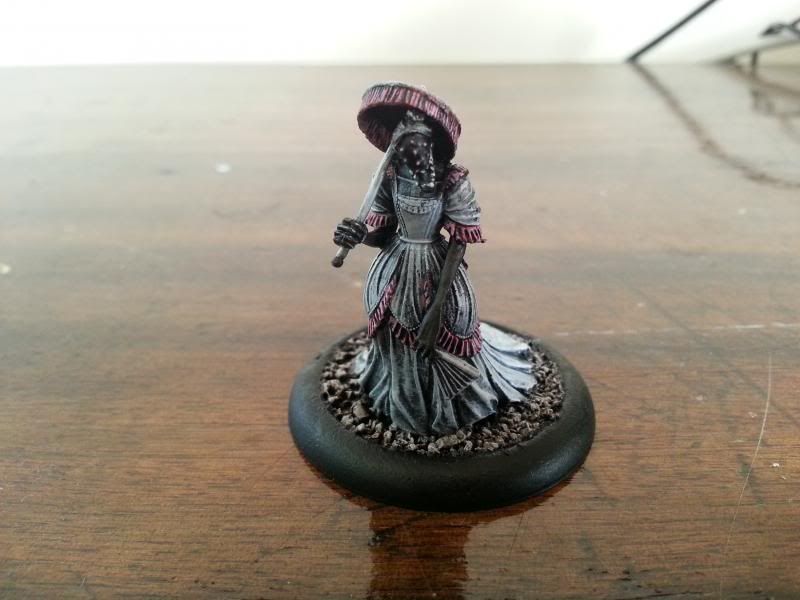
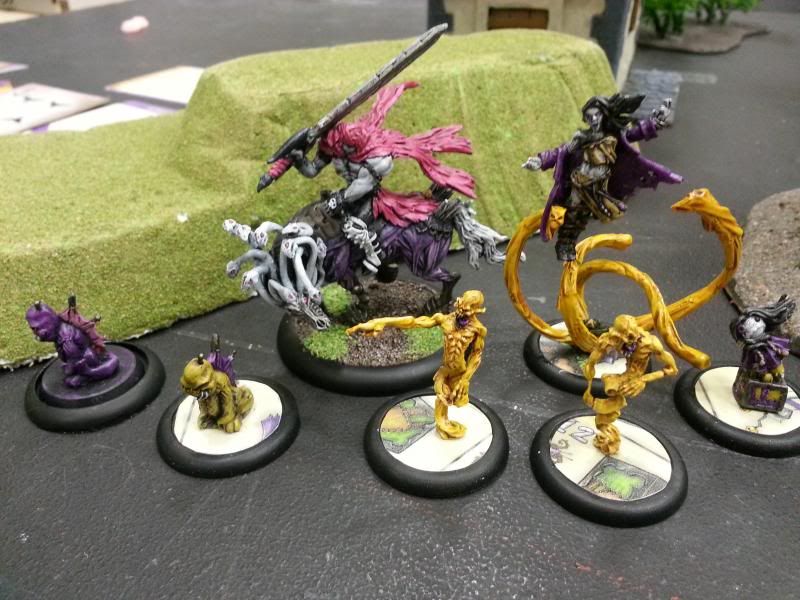
My Kaeris crew - she's really only missing the Firestarter now.
The Paint Job
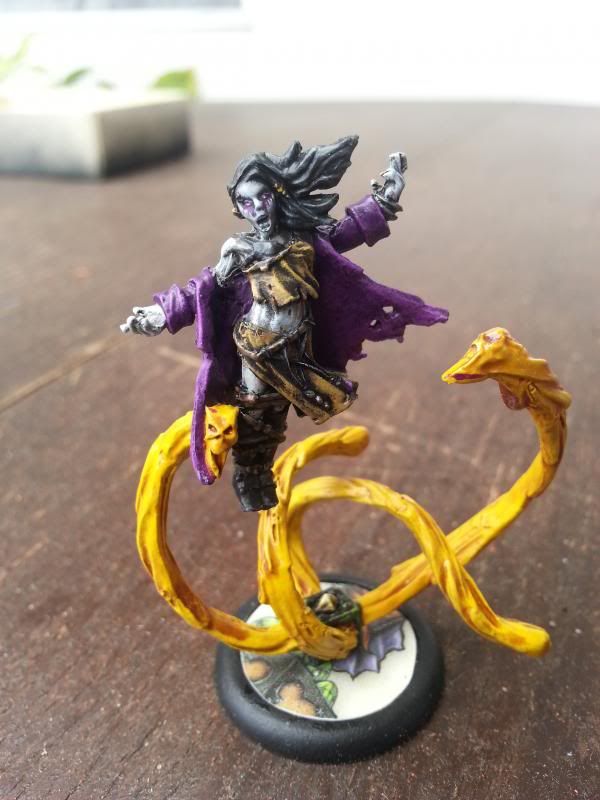
I might be one of the few people who chose NOT to give
Kaeris her wings! A strange decision to make, sure, but my main reason was one
of practicality – fitting her in a carry case was going to be much harder if
she has these big-ass wings to account for! So instead she got a backpack from
Forgeworld (gotta love backpacks!) with one of the guns from the Malifaux Hats
and Guns set. The colour scheme for my Kaeris crew was intended to be vaguely science related. So white “lab coats” with orange hazard clothing and a bit of
“ethanol flame” blue for contrast. It also bares a passing resemblance to the primary colour
scheme found in the computer game Portal. ;)
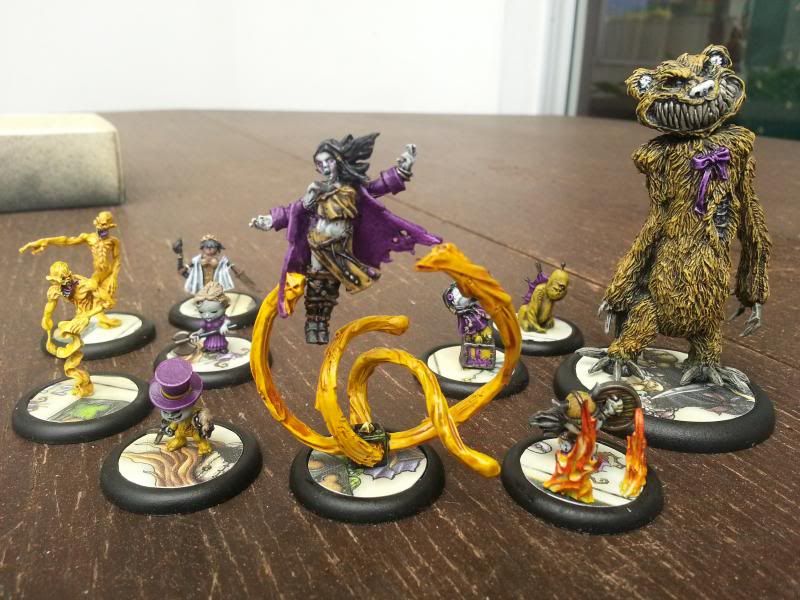
For the purpose of this challenge I only painted one
additional model – the Eternal Flame, which I proxied from some bits that came
with the Wyrd Flame Accessories pack. I would have also liked to do proxies for
the Captain and the Firestarter but unfortunately, they were going to take more
time than I really had.

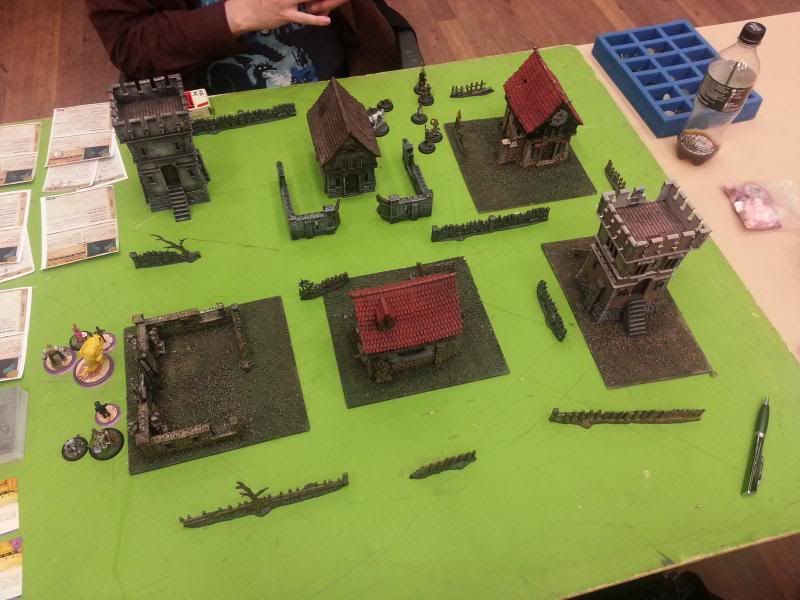
The Game
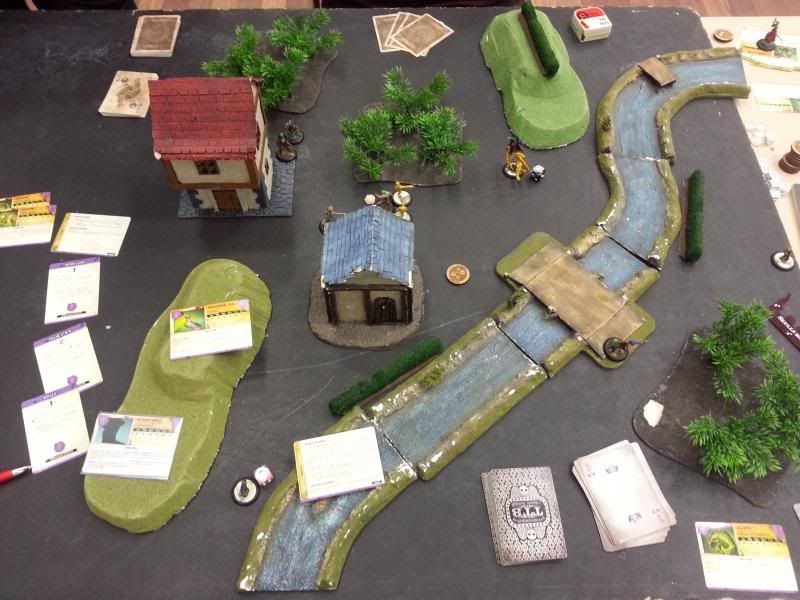
40SS, Standard Deployment
Strategy: Turf War
Schemes:
- Line in the Sand
- Breakthrough
- Distract
- Entourage
- Make them Suffer
- Line in the Sand
- Breakthrough
- Distract
- Entourage
- Make them Suffer

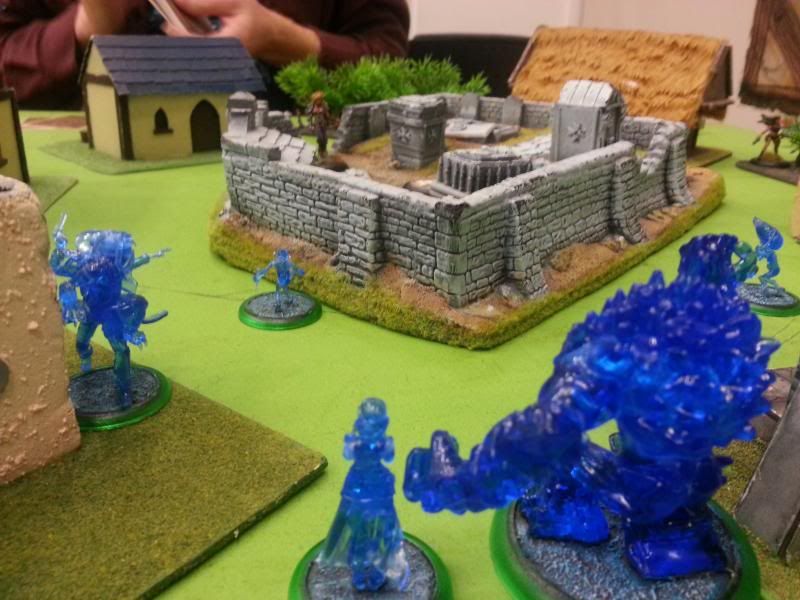
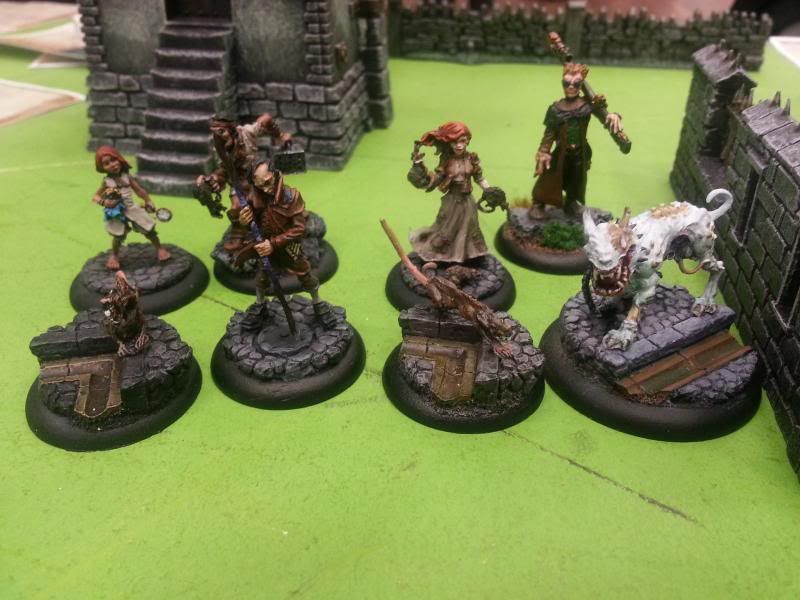
My crew for the day. That Malifaux Child is really getting a workout...
The List
Kaeris
- Grab & Drop
- Blinding Flame
- Born of Fire
Joss
- Open Current
- Imbued Energies
Rail Golem
- Imbued Energies
2x Fire Gamin
Malifaux Child
- Grab & Drop
- Blinding Flame
- Born of Fire
Joss
- Open Current
- Imbued Energies
Rail Golem
- Imbued Energies
2x Fire Gamin
Malifaux Child
With Turf war as the strategy I started with a pair of big
beaters to dominate the centre – Joss and the Rail Golem, with 2 Fire Gamin as
either support or flanking and the Malifaux Child to hand out Burning to my own
models. Despite having played against her once before I wasn’t entirely sure
how best to play Kaeris, but with both Entourage and Breakthrough available in
a game against Neverborn, I decided to give her upgrades that would help her to
deal with any quick flankers that try to get into my deployment zone. So Grab
and Drop for its namesake action, Born of Fire to summon Fire Gamin and
Blinding Flame to make her difficult to pin down.
The schemes I chose were Entourage and Make them Suffer.

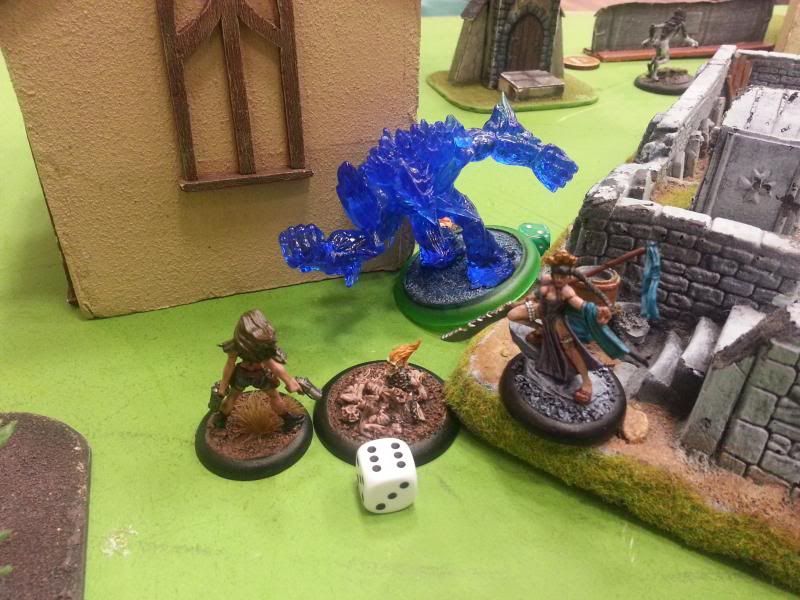
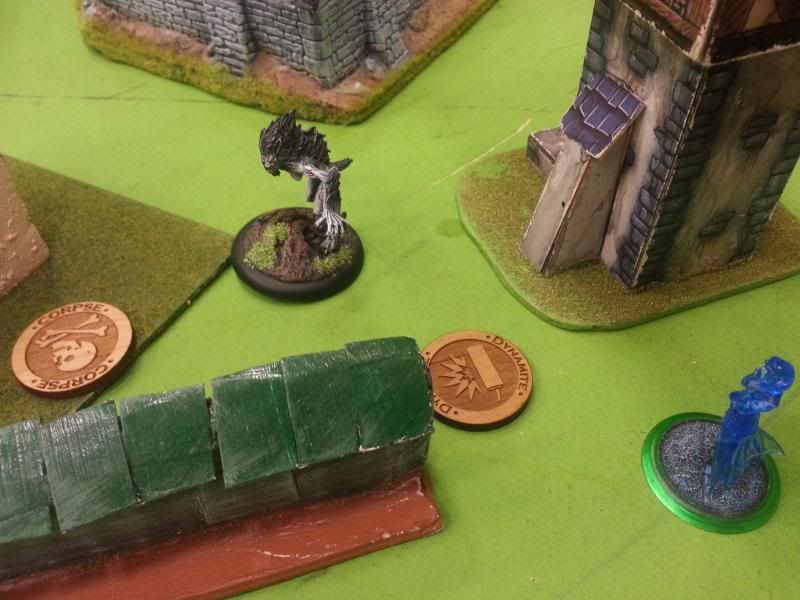
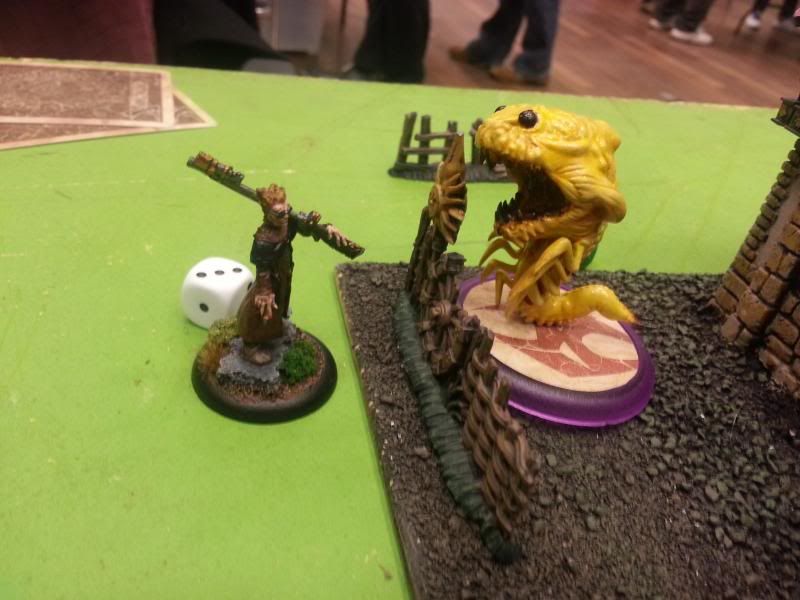
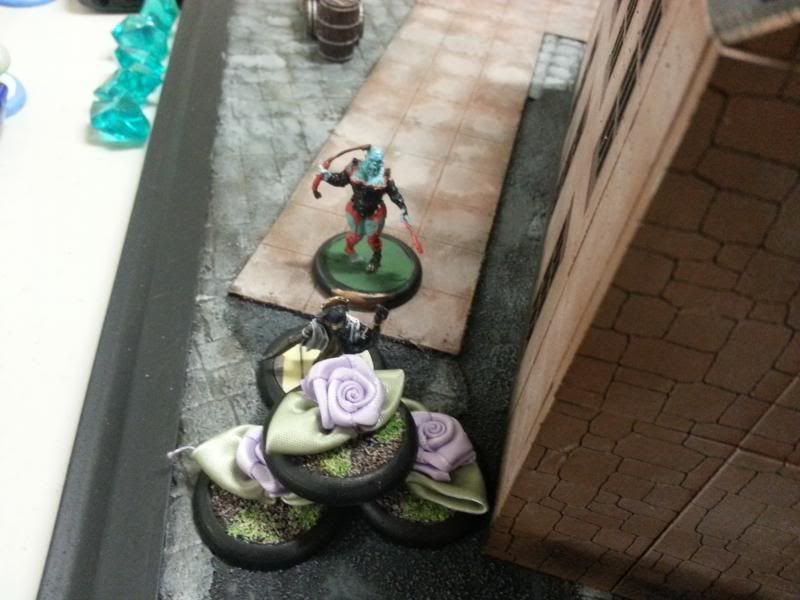
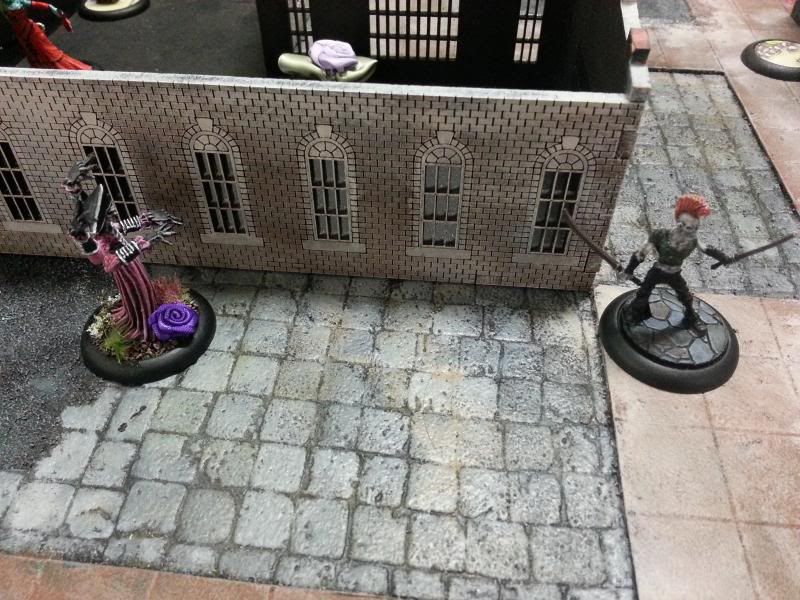
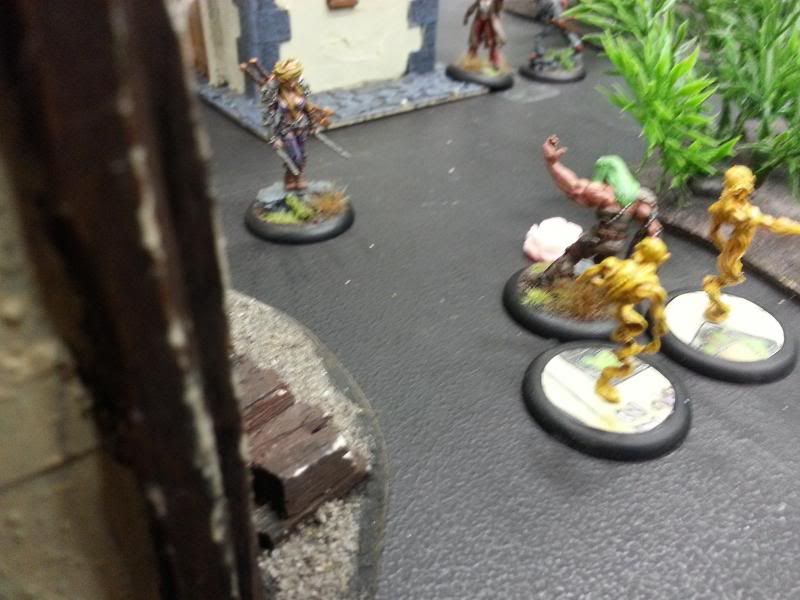
A lone Barbaros faces down both Kaeris and a Rail Golem as the game nears its end.
The Result
John had this cunning plan to use Tangle Shadows to swap
Barbaros with a flanking Fire Gamin, who would then deal with the second Fire
gamin and then place scheme markers for Line in the Sand away from the rest of
my crew. Unfortunately the plan backfired (that Black Joker!), so he instead
settled for using Tangle Shadows on Joss, putting Barbaros into the centre
against the Rail Golem and leaving Joss to face Lilith on his lonesome. Joss put up a good fight, taking out a Terror
Tot and bringing Lilith down below half wounds (triggering her Avatar!) before
dying.
Thanks to the Malifaux Child casting Flaming Halo on him,
the Rail Golem rapidly accumulated more burning counters than he’d ever need,
using it to cast Locomotion where possible to help bust up a Young Nephilim and
eventually Barbaros. A Cherub managed to slow and push him to blunt his
effectiveness, but he remained a threat throughout the game.
Kaeris systematically took out a flanking Terror Tot and
Young Nephilim in the first two turns, followed by the Cherub and most
importantly, Lilith. The latter was helped in no small part by an exploding
Fire Gamin. By the end of the game, with John’s crew all but wiped out and most
of my crew still on the table (I only lost Joss and a Fire Gamin), it was a
comfortable victory for Kaeris.

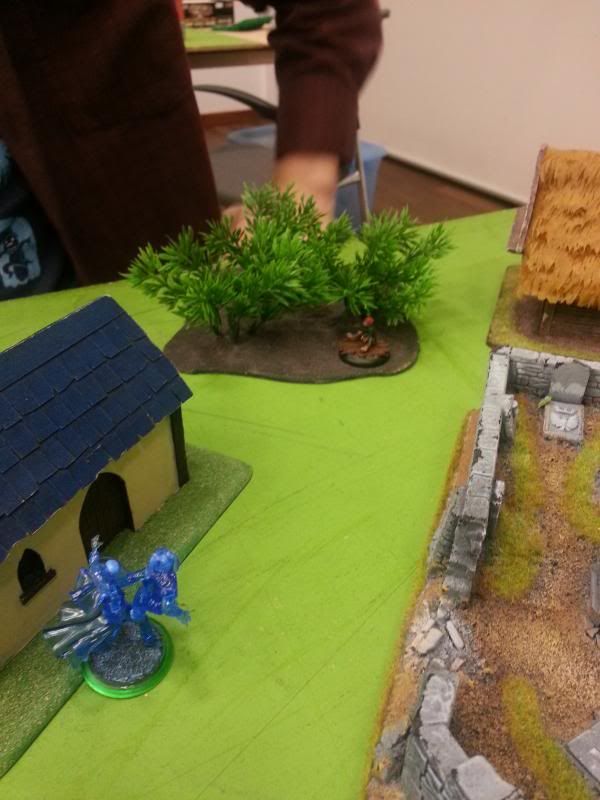
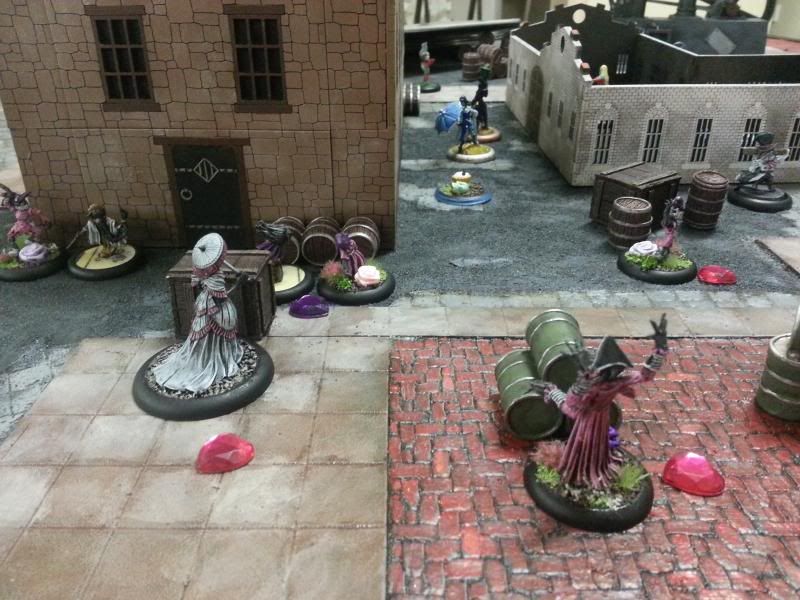
Once again, my love of random gear infects my models...
Post-game Thoughts
So I have some mixed feelings about how I used Kaeris and
her crew, all of which stems from me trying to figure out how Kaeris is
supposed to work. In this game I tried to play her as an independent piece,
always attacking from 10” (the limit of her Immolate attack) and staying away
from both her crew and from enemy models. This kept her completely safe,
although against targets without Burning already on them (like when she killed
Lilith), she wasn’t able to take full advantage of Immolate (her best damage
dealer vs a single target) without first spending an AP to cast Flaming Halo on
them. It also meant that she never got to use her Tactical actions, all of
which encourage her to play close to both the enemy and her own crew. Truth in
Flame for extra cards would have been great, Flare can help support her crew
through her limited upgrades and Accelerant would have been a great way to take
advantage of all the burning she could have thrown around at close range.
So all this leads back to the main question I was asking
before and even after this game: “How am I supposed to use Kaeris?”. Is she
supposed to be the mobile hunter I played her as, or should I have kept her
close to her own crew, helping to hold the Turf War marker and dealing death
from 2-3” away? What I’ve decided, however, is that she actually plays a lot
like McMourning. Whether you play him as Guild or Resser, the Good Doctor is
fantastic at supporting and being supported by his own crew but if need be,
he’s mobile and deadly enough to go off on his own to achieve objectives and
take on targets himself! Kaeris’s mechanics might be quite different, but she
still works in almost exactly the same way. So when up close and in support of
her crew she’s able to utilise all her actions and abilities to full effect.
But as I found in this game, her high mobility and long projectile range on her
attack spells allow her to split off from her crew and go it alone, if need be.
I’ll admit she’s not as efficient as when she’s with her crew and she would
really prefers her targets to already have Burning (for Immolate). But she’s
still able to dish out plenty of damage with her Flaming Halo/Immolate combo,
and seems tough and evasive enough to avoid getting crushed herself. In any
case, using Kaeris to clean up a flank in this game was probably the best thing
I could have done with her, since that made it much harder for John to achieve
his Line in the Sand scheme.

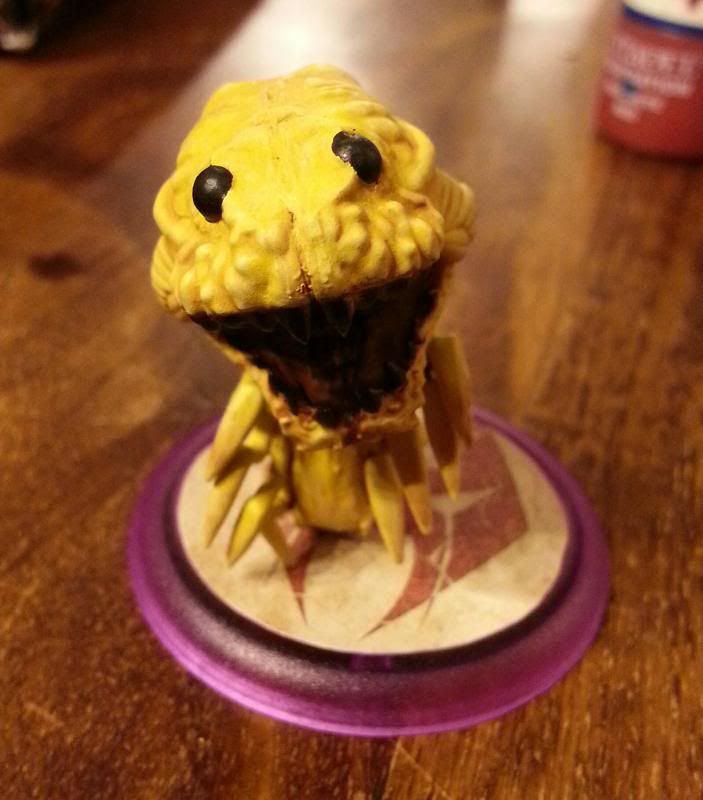
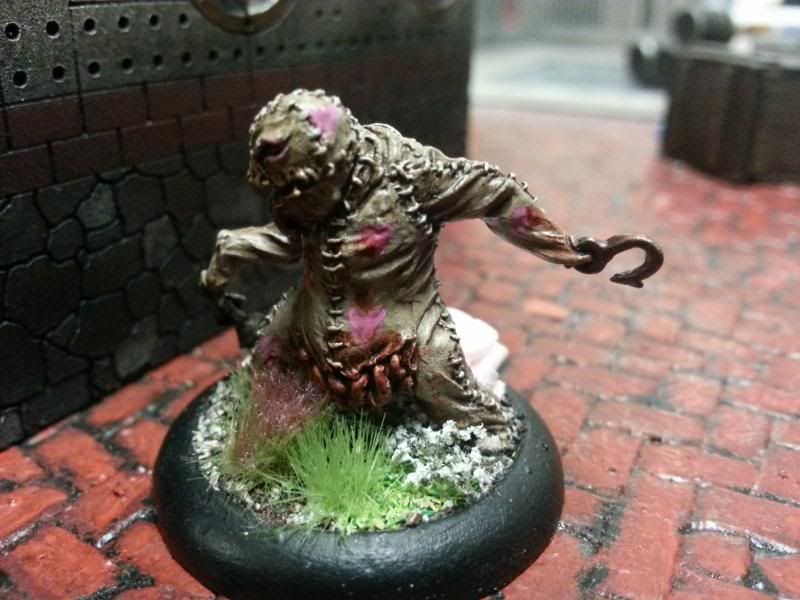
Can I just pretend that the Eternal Flame burnt all the greenery off its base?
The Rail Golem is the other model I feel I misused, but unlike Kaeris I think genuinely could have done better with him! My mistake here was forgetting the lesson I learnt last time I used the Rail Golem: it really doesn’t need any help in generating its own Burning! Between the Stoked Fury and the Redline Trigger, it tends to have more than enough Burning to use Locomotion to near-full effect. So using a Malifaux child to cast Flaming Halo on him (for Burning +4, with the right suits!) was definitely overkill. I fact at one point the Golem was approaching Burning +12, and that’s while I was actively abusing Locomotion!
But that wasn’t my only mistake, oh no. I’d also given
Kaeris Grab and Drop, meaning that if I activated the Golem within 6” of Kaeris
it’d gain flight, then plant a scheme marker and lose its Burning Condition at
the end of the turn. Not bad if you’re playing a scheme that needs those markers,
but unfortunately I wasn’t! So for that rreason I kept Kaeris away from the
golem for much of the game, but even that was unnecessary because as above, he
really doesn’t need much more than the Burning he generates himself. And in any
case, even if I wanted a little more Burning on the Golem I still had that
Malifaux child, willing and eager to cast Flaming Halo!
Overall though, I think the Rail Golem is a superb choice for
Kaeris. He doesn’t mind getting hit by Kaeris’s own burning attacks and he
generates his own burning for Kaeris to take advantage of. That, and he still hits
like a tonne of bricks so should be good for holding the centre. ;)
For the rest of the crew, I can’t say there were any
surprises. The Fire Gamin are great
for tying up enemy models and throwing Burning around, while Joss is still an incredibly resiliant
killing machine, even against Lilith, as the case was in this game.

So once again and somewhat coincidentally, I find myself comparing todays
Master to Sonnia. :P Both Masters utilise Burning in their own ways and like I
said last article, Sonnia seems to prefer using that Burning to throw flameburst attacks
from a long way away. Kaeris also deals damage through the burning condition,
but trades raw damage and blast output for much better mobility and
crew support (the latter mostly being through her limited upgrades). She doesn’t
have the anti-magic Sonnia does but Kaeris is much better in melee, which is
definitely a point in her favour.
----
So with that, we come
to the end of Catchup Week and I am FINALLY up to date with my blog!
Unfortunately it might be another week or two before I get another game in for
the Rainbow Challenge and in any case, with 21 Masters played this year I’m
rapidly starting to run out of painted Masters to put on the table! But that's a discussion for next week’s blog, in which I’ll give a more complete
update on the progress of my challenge. :)
Until next time,
Adrian